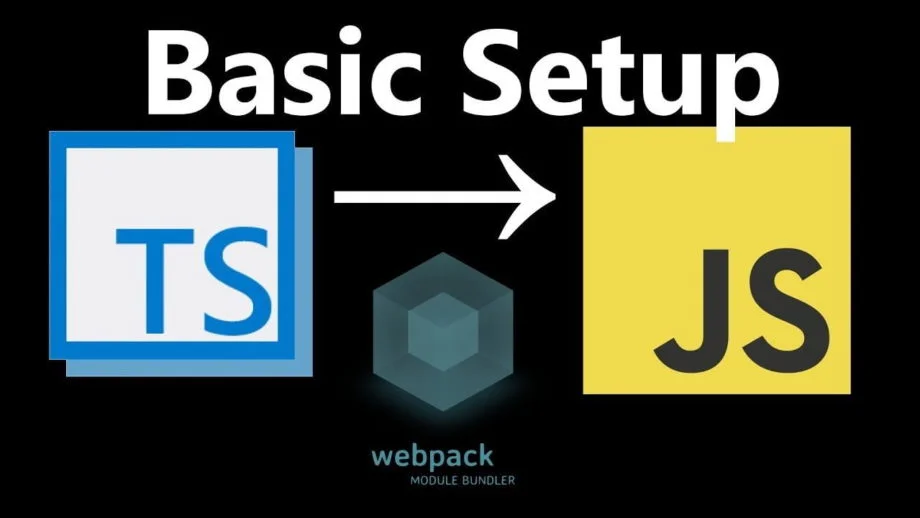
After seeing a lot of projects making the move to Typescript, I recently started to give it a shot as well. For people who are not aware of typescript, it is a wrapper over javascript which has built-in support for types. We get static checking for our code as well as better
I started creating a frontend starter kit which had all the configurations done for me.
This could have been done with Create React App since it now comes with typescript support now. But I wanted to build a starter from scratch to learn more about what goes in instead of just taking yet another boilerplate.
The urge for using the minimum number of packages for setting up typescript let me into some research. After doing some research online, I saw that there do exist a lot of tools such as ts-loader, awesome-typescript-loader and a bunch of others. But I also knew that Babel 7 supported typescript out of the box.
Hence I wanted to rely on only using Babel to do the heavy lifting of
Installing Typescript
First up, we need to install Typescript as
yarn add typescript --devWe also need to initialize typescript by adding a .tsconfig file in our root directory. For this, we use the command:
tsc --initThis command will generate a default .tsconfig file in the root directory of your folder. Most of the properties will be commented out and you can add the ones that you need to enable in there.
Note that you should set the noEmit property to true since we are letting Babel do the transpilation.
Adding Babel
We need to install babel along with a couple of presets which would allow us to transpile typescript
yarn add @babel/core babel-loader @babel/preset-typescriptBabel core, as the name suggests, is needed to setup the core of Babel. Babel loader is needed to be added as a loader in W
{ "presets": [ "@babel/preset-typescript" ]} Setting up Webpack
Next up, we need to add babel loader to our
Since Webpack does not handle
 module: {
  rules: [
  {
    test: /\.(ts|tsx)$/,
    loader: 'babel-loader',
   },
  ]
},
resolve: { extensions: ['.js', '.jsx', '.tsx', '.ts', '.json'] } And that should be it! You should be able to use typescript in your project without worrying about anything else.
Here is a finished version of the starter project with the mentioned steps. You can refer to it if needed and it is pretty much bare bones.
This looks too simple after having done everything, but getting it to work correctly without using ts-loader was a pain. I am going to try and use ESLint to setup linting next since they have recently added support for TS by default using babel-eslint. That should hopefully go smoother now that I have things in place.
Hope this post saved you from some research for setting up of typescript.
If you are interested in setting up ESLint with TypeScript, configuring jest with TypeScript or integrating TypeScript in a Gatsby project, check those posts out as well!
Let me know in comments below if you are facing any issues and need some help.